Autodesk Field Management - Checklists - Adding Documents to a Checklist
WHAT IS IT:
Guide to walk through how to add documents to an issue that you created or have been assigned to.
HOW TO for CHECKLISTS:
STEP 1: Open the Autodesk website and find the correct project
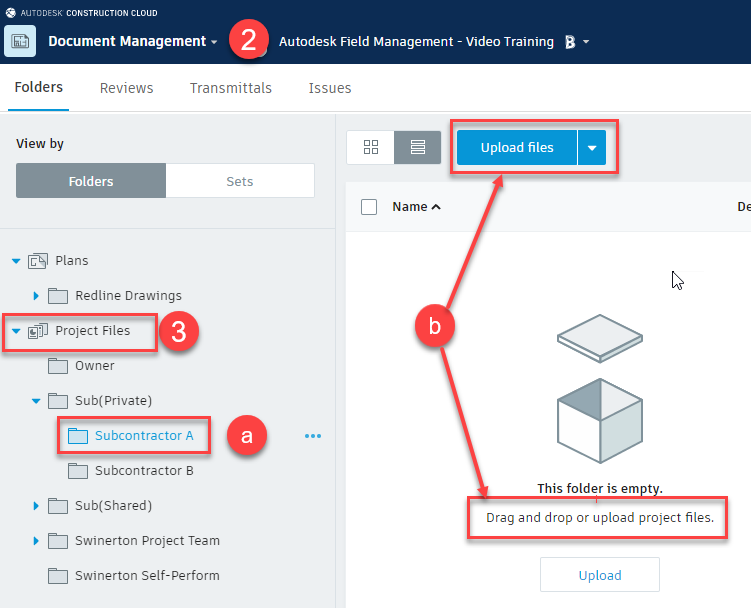
STEP 2: Select Document Management
STEP 3: Under Project Files
a:Find the folder where the document needs to go
b: Select Upload Files or drag and drop the file into the correct folder
NEXT:
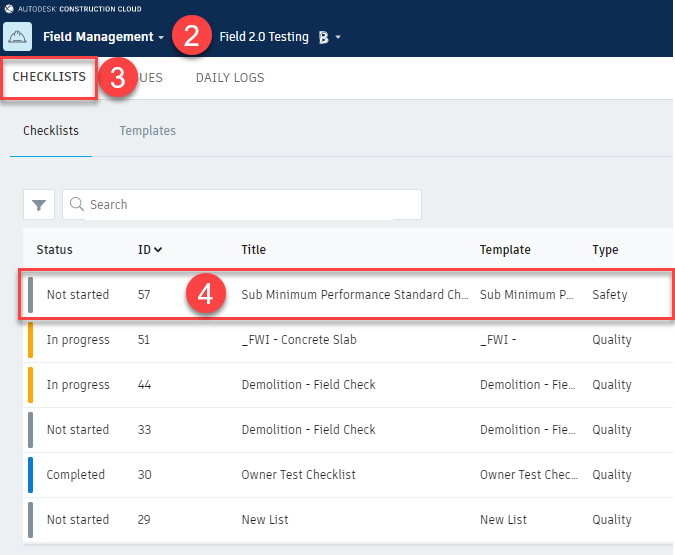
STEP 2: Select Field Management
STEP 3: Select the Checklists tab
STEP 4: Select the checklist you need to add an attachment/document to
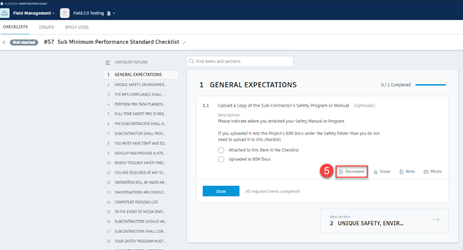
*You can upload a document to a specific item within the checklist or you can add a document to the overall checklist.
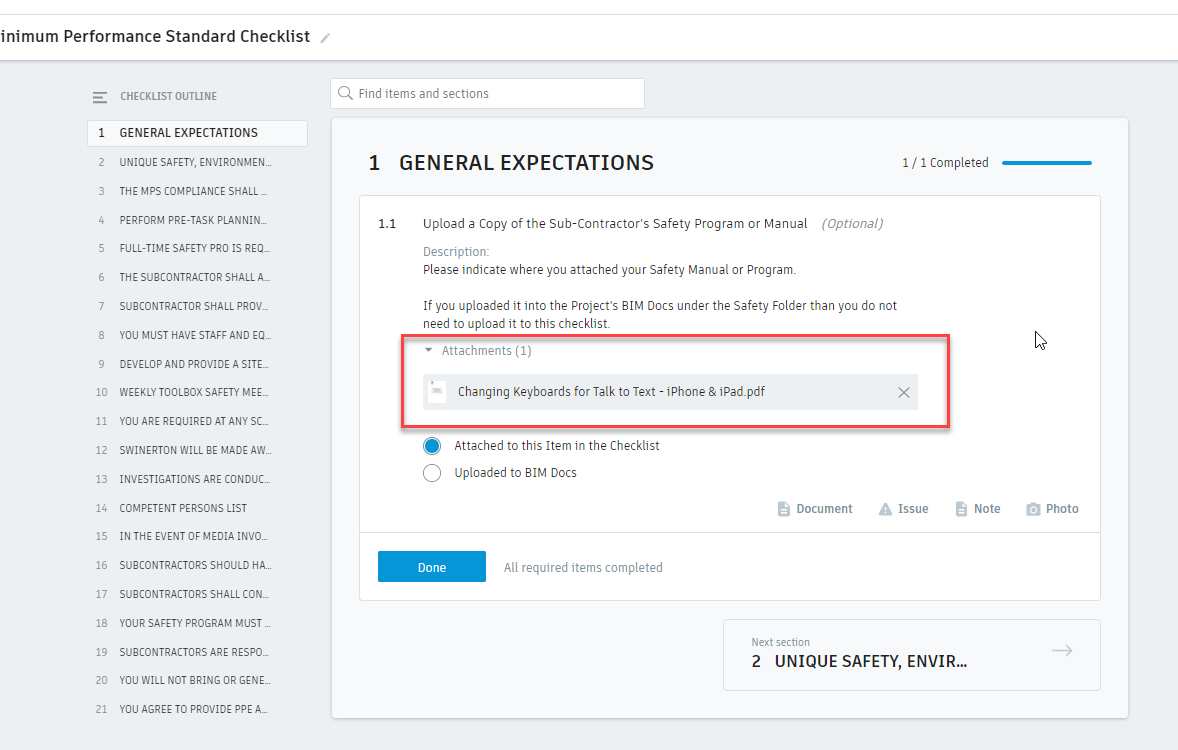
STEP 5: To add a document to a specific item, find the item and select Document
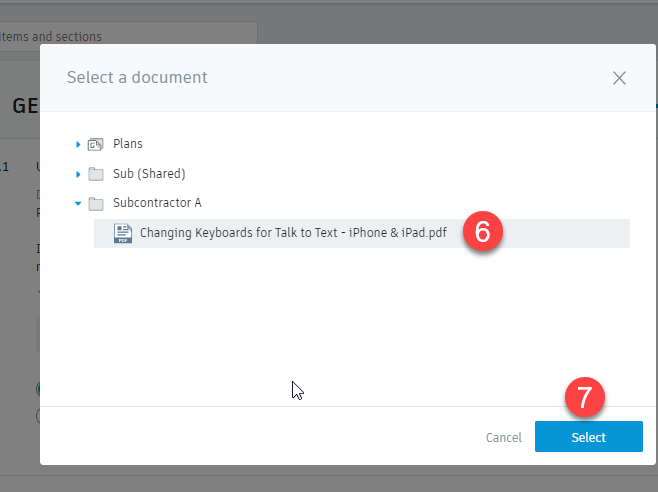
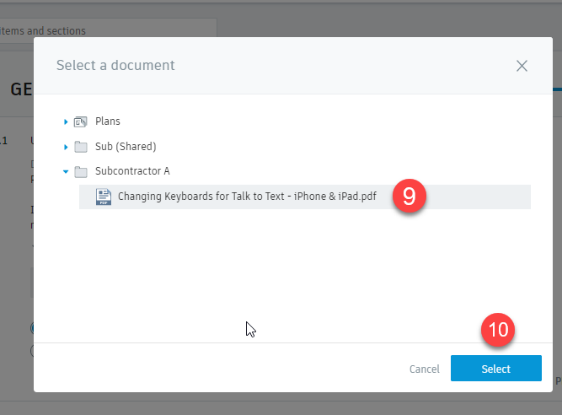
STEP 6: Select the document you uploaded into BIM 360
STEP 7: Hit Select
*You will notice the attachment within the specific item
STEP 8: To upload to the overall checklist, select Add Documents under the Checklist Instance Details on the right (select the blue i in the right corner of the checklist if you don’t see Checklist Instance Details)


STEP 9: Find the document in the folder you uploaded it to. Note – you DO NOT have the option to upload from your desktop here, all files need to be in BIM 360 if adding to the overall checklist
STEP 10: Hit Select

*You will notice the attachment on the right. Continue to follow the steps above to add more documents to your checklist