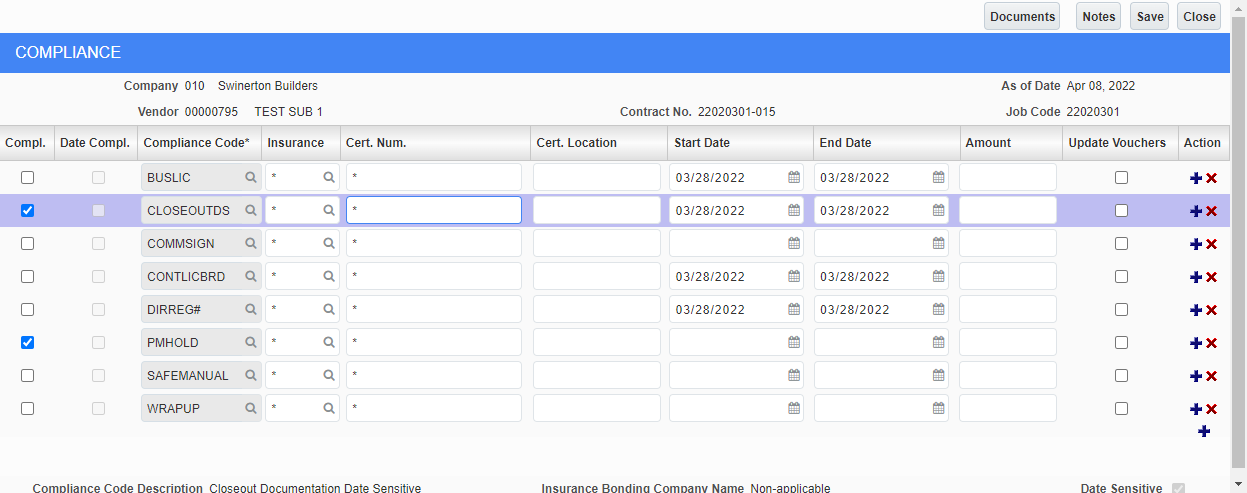
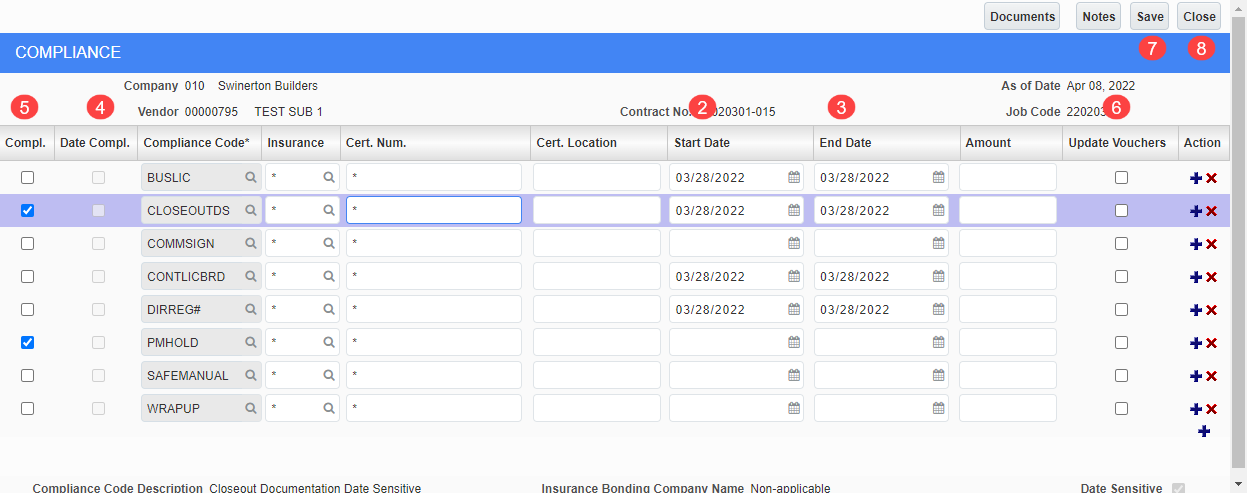
STEP 3: Click Update. This will remove the hold from any unpaid vouchers in CMiC. If Update is not clicked, the voucher will remain on hold. See Resolving Discrepancies between Compliance on Subcontract and Compliance of Vouchers.
STEP 4: Click Save.
STEP 5: Click Close.
Updating Date Sensitive Compliance Codes
Updating Compliance when initial certification is received.

STEP 1: Click on the line to be updated. It will turn blue.

STEP 2: Start Date - Enter the effective date of the certification into the Start Date field. This field should only be entered when the initial requirement is met. When a certification has expired and a new certification has been received, only the End Date should be updated. See Updating Compliance for Expired Certifications.
STEP 3: End Date - Enter the expiration date of the certification. Once this date passes, any vouchers will be placed on hold.
STEP 4: Date Compl. Since the ‘As of Date’ falls between the Start Date and the End Date, CMiC has automatically checked this box.
STEP 5: Compl. – Click the box.
STEP 6: Update – Click the box to update compliance attached to vouchers.
Prior to saving, any additional updates can also be made at this time.
STEP 7: Click Save,
STEP 8: Click Close.
Updating Compliance for Expired Certificates

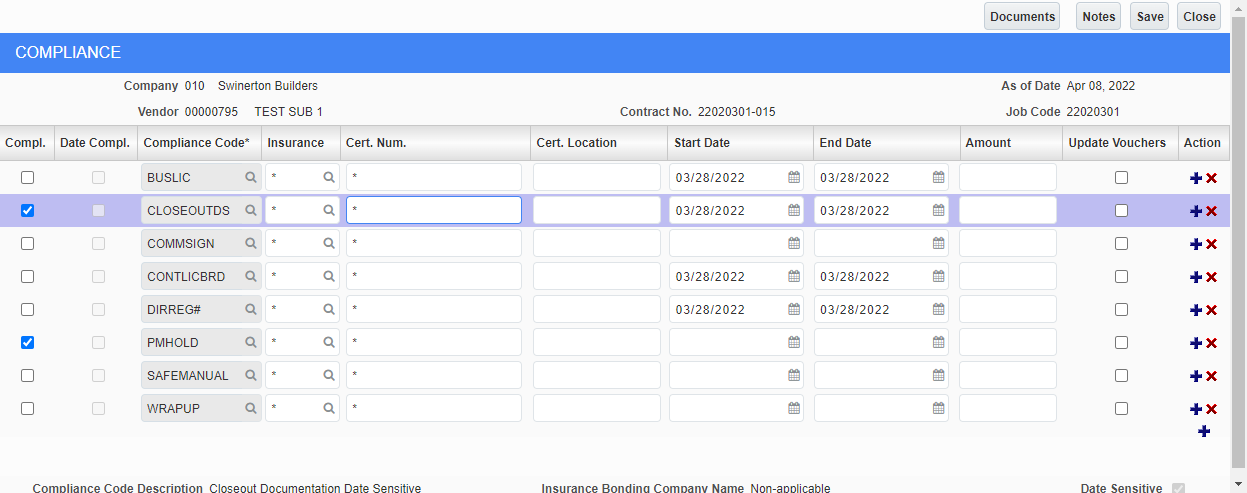
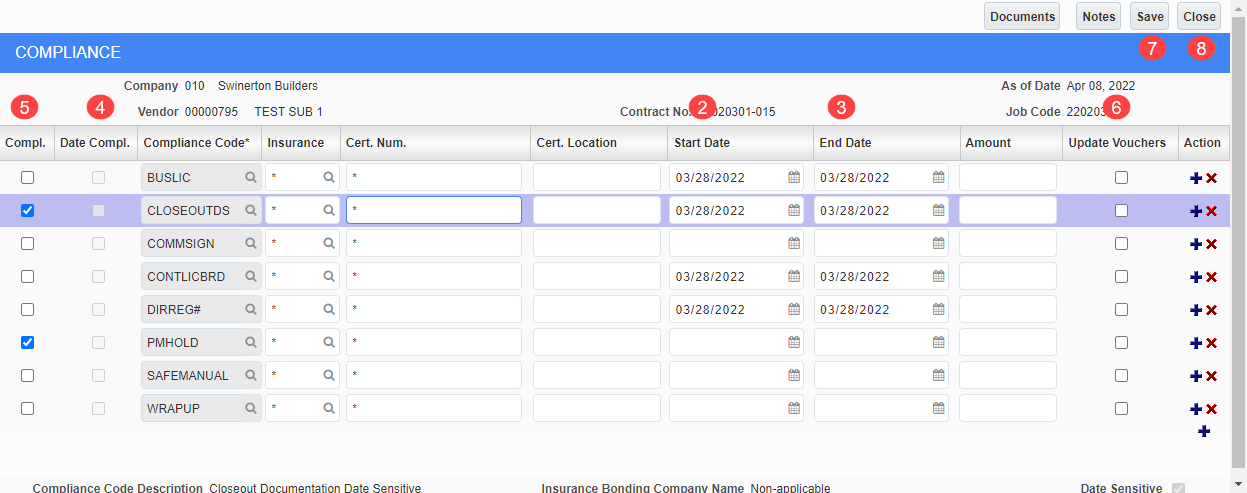
STEP 1: Click on the line to be updated. It will turn blue.

STEP 2: Start Date – Do not update this field unless this is the initial certification received for this requirement. Updating the Start Date with the new effective date of the certification will place any unpaid vouchers with an invoice date prior to the new effective date on hold.
STEP 3: End Date - Enter the expiration date of the certification. Once this date passes, any vouchers will be placed on hold.
STEP 4: Date Compl. Since the ‘As of Date’ falls between the Start Date and the End Date, CMiC has automatically checked this box.
STEP 5: Compl. – Click the box.
STEP 6: Update – Click the box to update compliance attached to vouchers.
NOTE: Prior to saving, any additional updates can also be made at this time.
STEP 7: Click Save.
STEP 8: Click Close.