Using the RFQ (Request For Quotation) tab in a PCI
Using the RFQ (Request For Quotation) Tab in a PCI
OVERVIEW
The RFQ (Request for Quotation) tab is used to track requests to subs for quotes on specific PCIs. Any Vendors selected in the PCI Detail section of the General Tab will populate here in the RFQ Tab. This guide will review the following:
Part I – Entering RFQ Information
Part II – Printing RFQ Letters
Part I – Entering RFQ Information
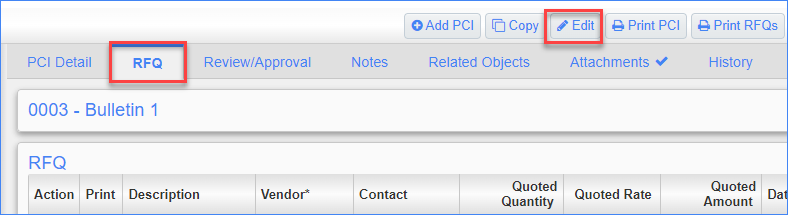
STEP 1: Navigate to the PCI you want to work on, then click on the RFQ tab
STEP 2: Click the Edit button
STEP 3: ALL Vendors selected in the PCI Detail section will populate here in the RFQ tab. If you missed anyone, click the (+) symbol to add a new line, then click on the magnifying glass in the Vendor column to add the missing vendor(s).
STEP 4: Confirm there is a
Contact listed for each vendor. The Contact field will Auto-Populate with the "Primary Contact" if one has been selected, otherwise it will need to be selected. This will print on the RFQ Letter. Click
HERE to learn how to add contacts and identify a Primary Contact
STEP 5: Quoted Quantity & Quoted Rate can be used if Rates & Quantities are part of the quote. Not a Required Field.
STEP 6: Enter the Quoted Amount once received from the Sub.
STEP 7: Enter the Date Sent to the Sub. This date field will also print on the RFQ Letter.
STEP 8: The
Date Due will automatically populate based on the "Default RFQ Review Period" setting, otherwise any date can be entered here. This will print on the RFQ letter. Click
HERE to learn about setting up the project's Defaults tab.
STEP 9: Enter the Date Received once the quote is returned.
STEP 10: The Comment field can be used to expand on the scope description in the PCI header. Double Click in this box to open a larger dialog box. This will print on the RFQ letter. This field can also be used to list inclusions or exclusions of scope. Double Click in this box to open a larger dialog box.
STEP 11: Leave the status field blank. It is not being used at this time.
STEP 12: Click
Save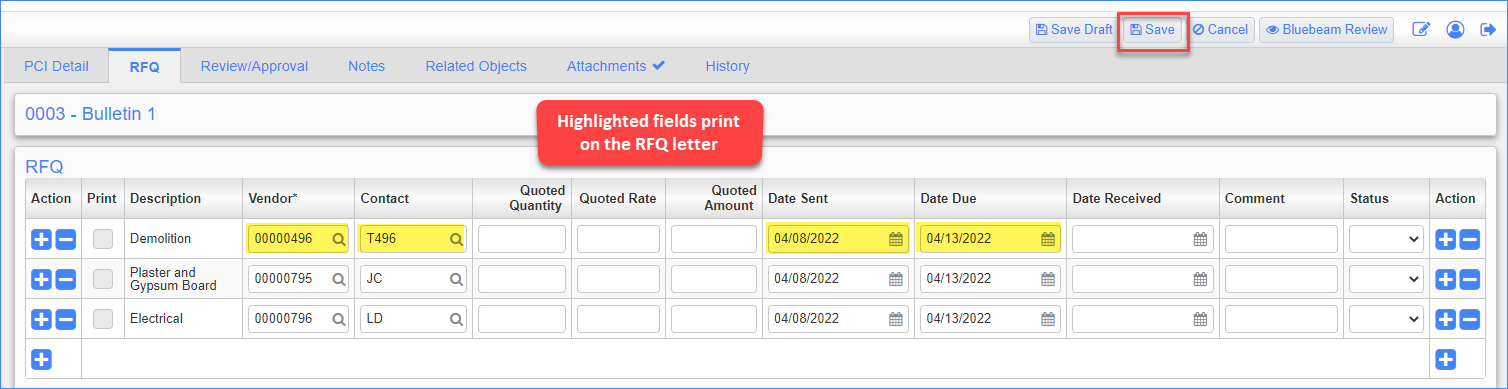
Part II – Printing RFQ Letters
STEP 1: Verify information has been entered in the following fields:
- Vendor
- Contact
- Date Sent
- Date Due
- Comment (optional)
STEP 2: Check the box in the "Print" column for the RFQ you want to print. (These are available once you click save).
NOTE: If you check multiple boxes then you can create 1 letter with all vendors listed. Otherwise, check one box at a time to generate separate letters.
STEP 3: Click Print PCI
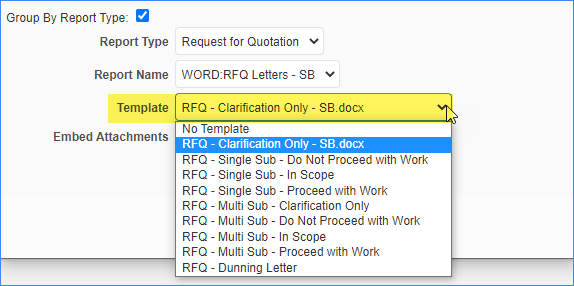
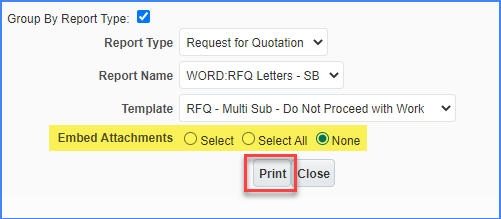
STEP 4: In the popup window, check the box, Group By Report Type
STEP 5: The Report Type field will populate in the window
STEP 6: In the Report Type field, click the arrow and select Request for Quotation

STEP 7: In the Template field, click the arrow and select the letter you want to print
STEP 8: Select if you want to add attachments or leave as none. Note that if you do add attachments, the letter will print as a PDF. Click HERE to learn more.
STEP 9: Click Print
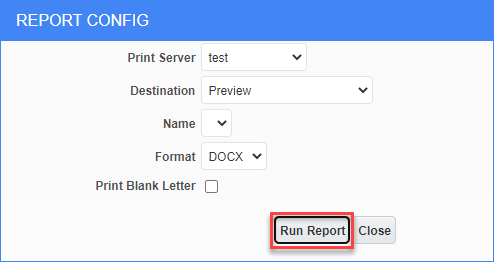
STEP 10: Click Run Report. The word doc RFQ will then be downloaded to your computer.