Autodesk Field Management - iPad - Creating Checklists
STEP 1: Open the BIM 360 App

STEP 2: Select the three lines in the upper left to find the project


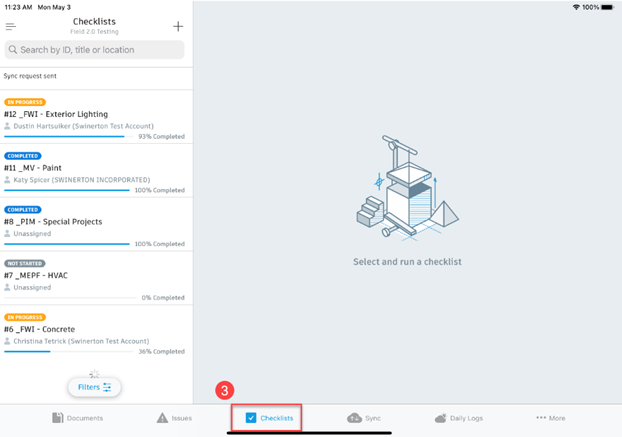
STEP 3: Once you are on your project, select the Checklists tab on the bottom task bar
STEP 4: Select the plus sign to create a new checklist

STEP 5: Choose the checklist template you need, then hit Select in the upper right

STEP 6: Update the title of your checklist, assigned to, location (if applicable) and scheduled date of the inspection
- Note – make sure to leave the checklist name (_MV, _FWI, etc.) at the beginning of each checklist so it will pull to the Quality Tracker!
STEP 7: Hit Create

STEP 8: Complete the checklist and any required fields (not listed as optional). Make sure to verify all sections of the checklist by selecting the “Sections” feature in the top left.
- You can add photos from your device or attach documents that have been uploaded in BIM 360

