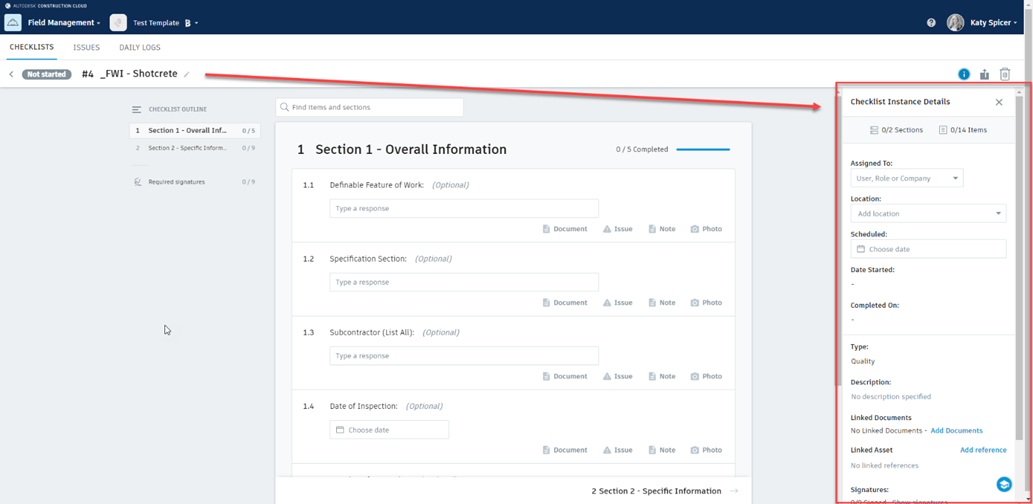
Autodesk Field Management - Checklists - Instance Details
When creating a checklist, you want to make sure the checklist details are filled in. This guide will walk you through the importance of filling out the Checklist Instance Details on the right-hand side within any checklist.
-
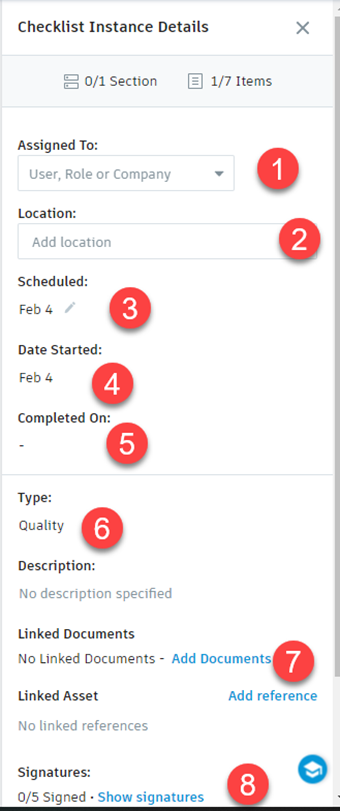
Assign to: Select a User, Role, or Company
- For checklists, you will most likely apply the checklist to a Company.
-
Location: Select from the dropdown to apply the checklist to the appropriate location for your project
-
Scheduled: Date of when the inspection is scheduled for your project
-
Date Started: Date of when you started the inspection
-
Completed on: Date of when the all the checklist required fields have been filled in, signatures signed, and checklist marked as complete.
-
Type: Can only be changed in the template
-
Linked Documents: Add any drawings from your plans or project files
-
Signatures: View and show signatures for that checklist
If you close out of the checklist instance details, you can click on the information toggle to pop out the checklist details!

Icon Definitions within a Checklist:
Export your checklist to a PDF

Delete checklist – can only be done with checklists created by you or Project Admin Access

Archive – can only be done with checklists created by you or Project Admin Access
