Important Documents (Upload Document, Get Document URL, Mark as Important)
Important Documents (Upload Document, Get Document URL, Mark as Important)
PART 1: Upload a Document
Ensure that you name and format the documents per the SwinNet Style Guide (page 53) prior to uploading to your new SwinNet page.
If you are trying to upload a new version of an existing document, be sure to name the document the same exact name.
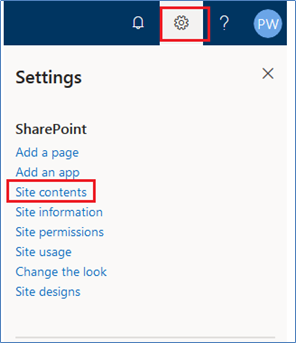
STEP 1: Click on Gear Icon (Settings). Go to Site Contents.
STEP 2: In Site Contents, click on Documents.
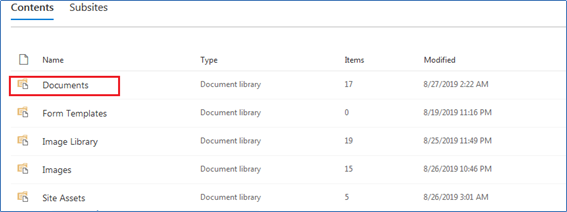
STEP 3: This is the master document library.
DO NOT create folders to house your documents or multiple document libraries. Everyone should upload directly to the one master document library (Documents) and tag each document.

STEP 4: Click Upload in the toolbar and then select the document from your computer.
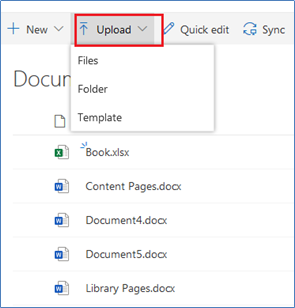
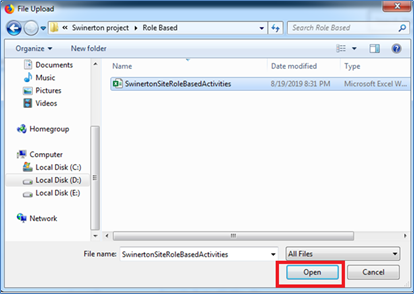
STEP 5: Select file and click the Open button.
If you are replacing an existing document (and you named the file exactly the same as the one you are replacing), it will ask if you want replace the existing one. Say Yes.
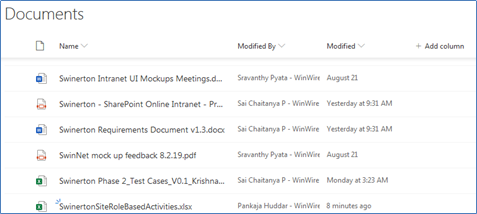
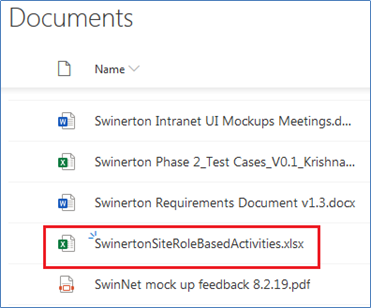
STEP 6: Uploaded document will be displayed in the Documents list. Fill out the required fields and submit for approval to publish. See this solution for instructions on how to submit the document for approval: Approval Workflow: Documents.
PART 2: Get Document Web Address (URL)
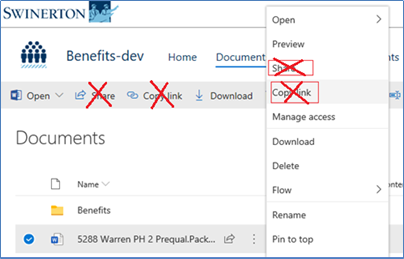
When you copy a document web address (URL) from Documents, DO NOT use Copy Link or Share in the toolbar or document menu. Instead follow the steps below.
STEP 1: Click on the document name in the Documents list and open it.

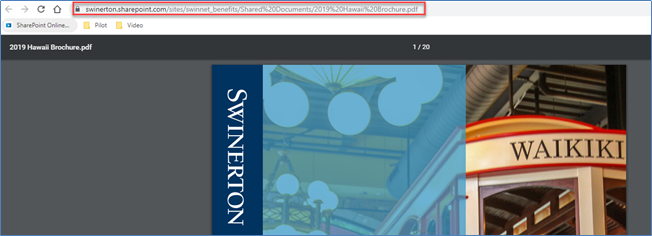
STEP 2: The long URL will appear in the browser window. Click on Open in Browser for the shorter URL.

STEP 3: Copy the short URL. You can paste this into a text web part to create a document link.
PART 3: Mark a Document as Important
You only need to do this process below if you want the document to display under the Important Documents area of your department page.
STEP 1: Click on Gear Icon (Settings). Go to Site Contents.
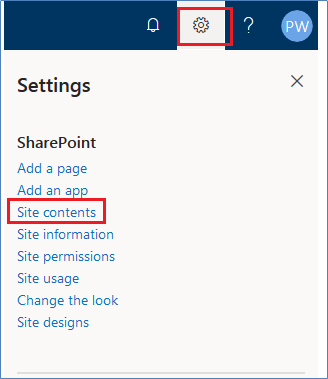
STEP 2: On Site Contents, click on Documents.
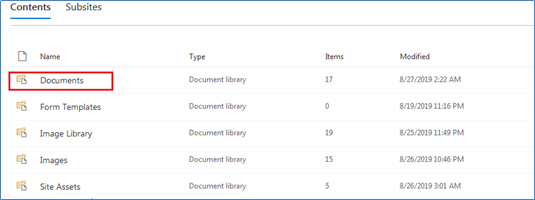
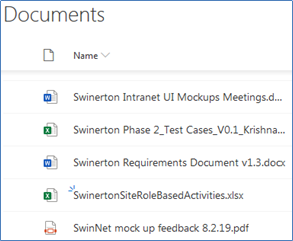
STEP 3: List of documents will be displayed.
STEP 4: Click on ⁞ to the right of the document name. Then click on More and Properties.

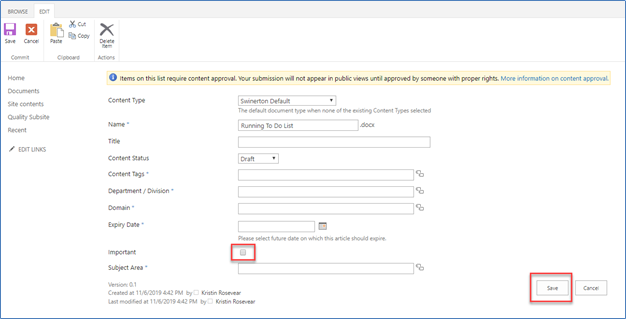
STEP 5: Check the Important box. This will tag it to appear in the Important Documents library. Fill in the other fields and click the Save button.
You will not be able to save unless you complete all required fields indicated by asterisks. Once saved, the document will be submitted for approval to publish.
STEP 6: Select Important Documents from the filter on the Documents page.
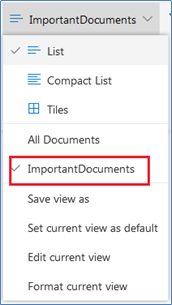
STEP 7: List of important documents will be displayed. This will also display in the Important Documents area of your Department page.
