Using the Image Gallery Web Part to Add Images
Using the Image Gallery Web Part to Add Images
PART 1: Upload Images
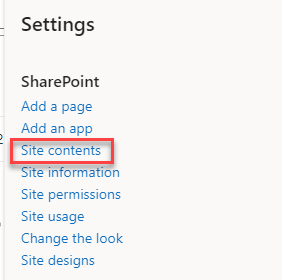
STEP 1: You will need to upload some 996 x 560 images into the Image Library first. Click on the gear icon in the top right corner.

STEP 2: Click on Site Contents in the drop-down menu.
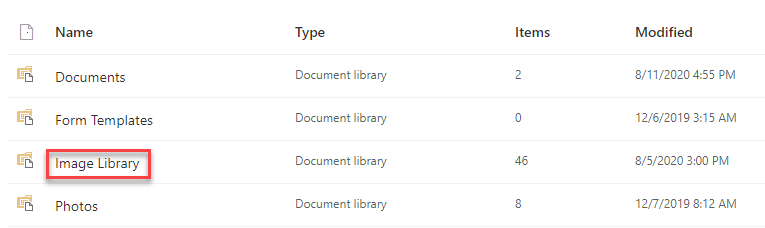
STEP 3: Click on the Image Library.
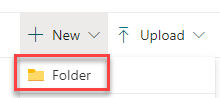
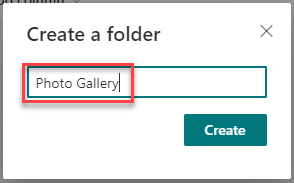
STEP 4: Go to New > Folder and create a folder called Photo Gallery.
STEP 5:
In the Photo Gallery folder, click the Upload button to upload your images.

PART 2: Add or Delete Images in the Image Gallery Web Part
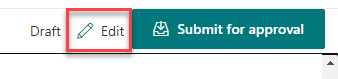
STEP 1: Go back to your page. Get into Edit mode by clicking on the Edit icon next to the Submit for Approval button on the top right.
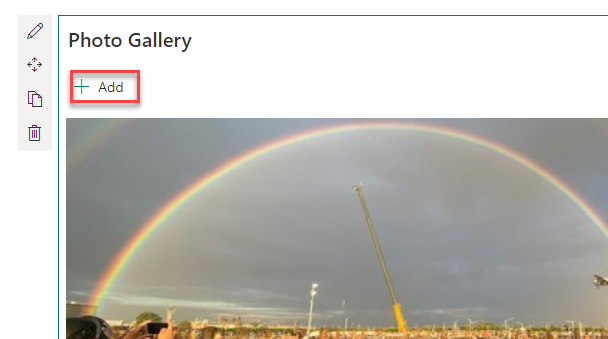
STEP 2: Click on the Image Gallery web part to open it, then click on Add.
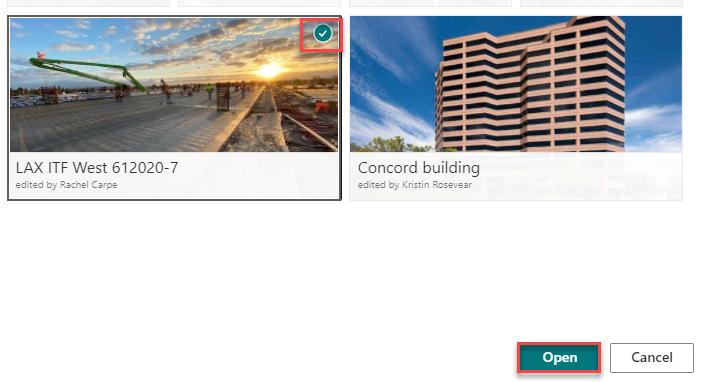
STEP 3: Select photo by checking the circle in the top right corner. Then click the Open button.
You can select more than one image to load the gallery all at once. There is not a maximum number of images (that we know of), but 3-6 images is good.
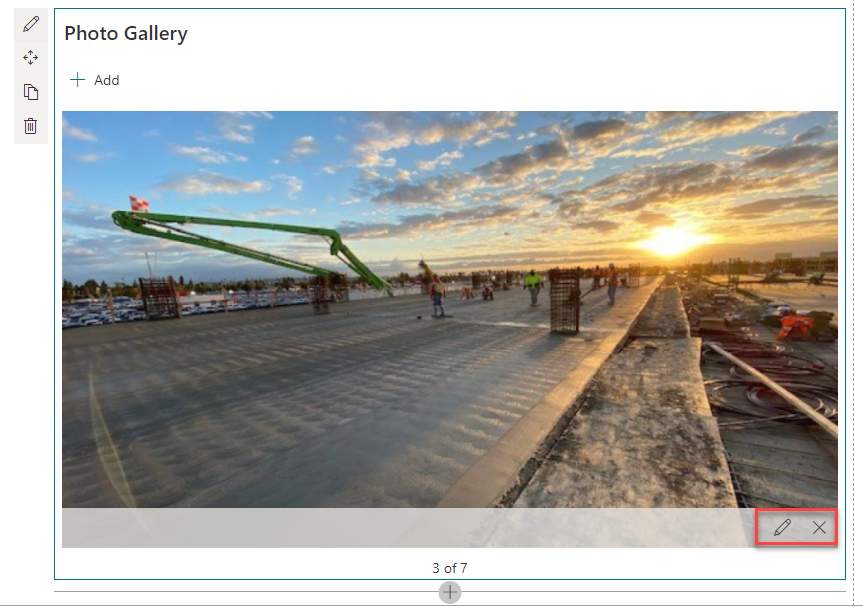
STEP 4: The image now appears in the Image Gallery web part.
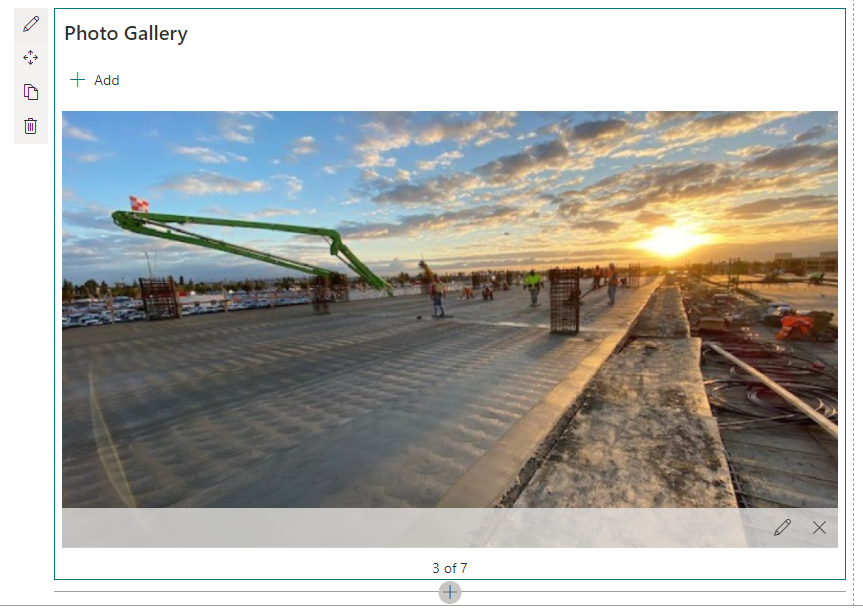
STEP 5: To add a caption, click on the pencil icon in the bottom right corner of the image. To delete an image, click on the X in the bottom right corner.
STEP 6: When you are done, click on Save as Draft in the top left of the page.

STEP 7: After your draft is saved, you will need to click on Submit for Approval to publish the changes to your page.
