CREATING PROJECT SPECIFIC RESOURCE PLANS
Creating Project Specific Resource Plans
Overview:
This document is a guide for Finance and Financial Managers to assist them in creating a Project Specific Resource Plan for a job with negotiated rates. This process should include all job profiles that could potentially charge time to this project, including both Admin and Craft. Note: Union Craft profiles will never have
rates added during this process unless the record being added is person
specific.
Access Workday from the Desktop
Icon on your computer
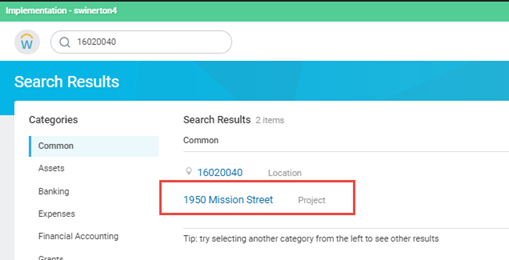
STEP 1: Once in Workday, navigate to the specific
project you want to update
STEP 2: When the project screen opens navigate to
Resources tab
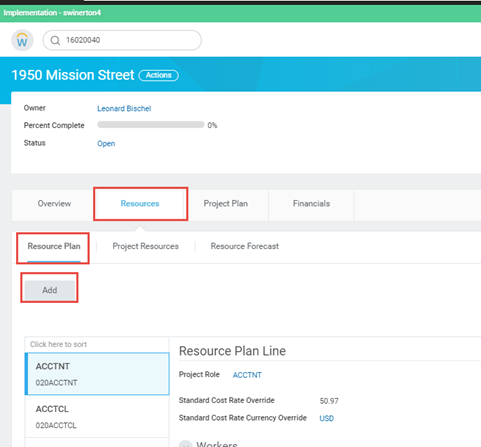
a. System will default the Resource Plan tab
b. Click Add
Note: If Add button is not visible, and Edit and Synchronize Dates are visible, the project already
has a project specific resource plan.
STEP 3: The Create Resource Plan for Project screen will
open
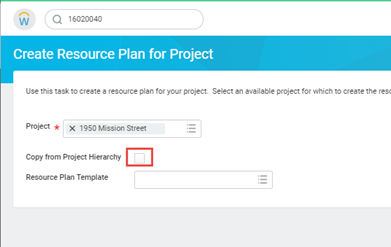
a. Check the “Copy from Project Hierarchy” box
Note: Or you can create a Template to be used in each project and select from that.
b. Click OK
STEP 4: The new Resource Plan screen will display
a. To add a profile that does not exist in the left
profile list, click the Add (+).
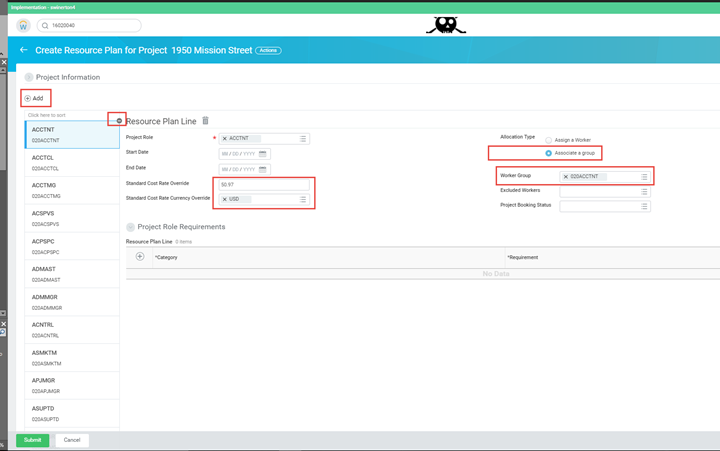
b. When adding a new profile, complete the
following fields (center of the screen)
i. Project Role = Job profile code
ii. Start and End dates as needed
iii. Standard Cost Rate Override
iv. Standard Cost Rate Currency Override – USD (this is a required field)
v. If profile is not person assigned, then click the ‘Associate a group’ button
vi. Add the Worker Group (this is the job profile code preceded by division number. i.e.: 020ACCTNT)
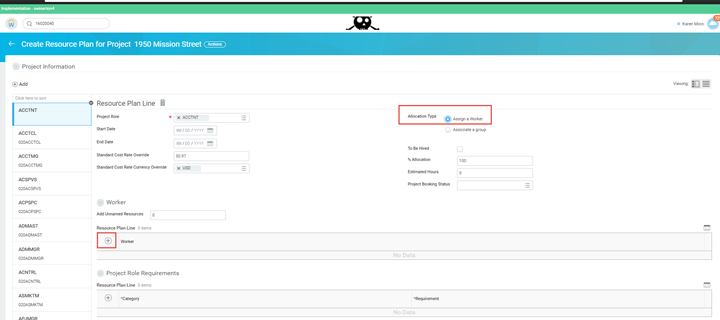
i. If profile is person assigned, then click the ‘Assign a Worker’ button
ii. Click the ‘+’ sign next to ‘Worker’
iii. A new line will open in the box below the ‘Worker’ heading
iv. Enter the workers Name or Employee Number, and select

STEP 5: Once the plan has been updated a confirmation
screen will display
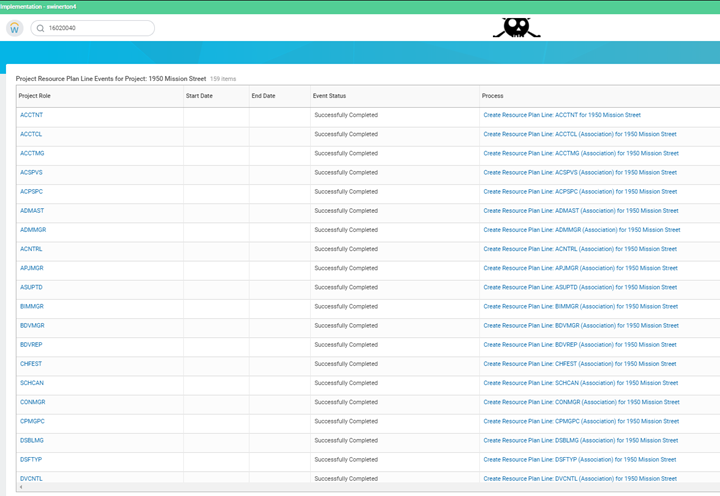
STEP 6: Click Done
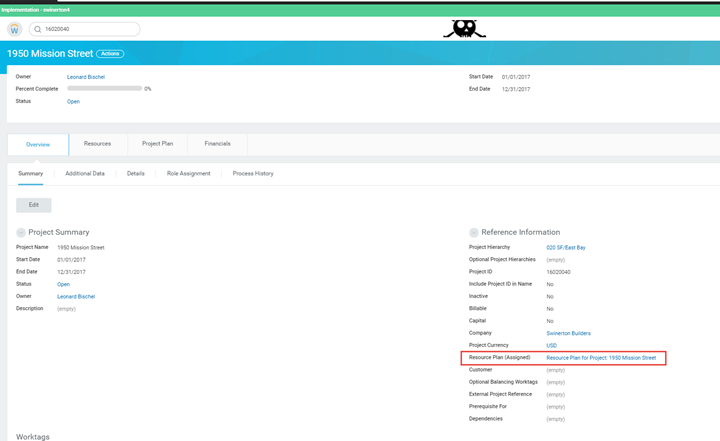
STEP 7: You can confirm that the new plan has been
generated, by going to the Overview tab and looking at the ‘Resource Plan
(Assigned) field.
STEP 8: The
final step is to update the Integration ID for the Project Specific Resource
plan you just created.
STEP 9: Click on the Actions button