BIM 360 Field iPad: Photo Documentation
BIM 360 Field iPad: Photo Documentation
Steps:
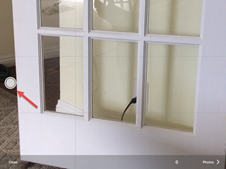
STEP 1: Open the camera function on the home screen
within 360 Field

STEP 2: Take photos of the issue or photo
documentation
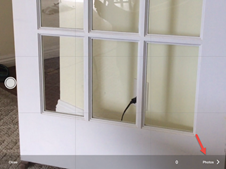
STEP 3: Click on "photos" when finished
taking photos
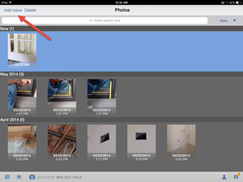
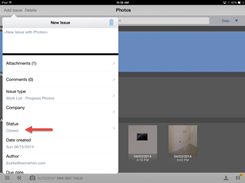
STEP 4: Click "add issue"
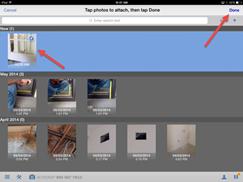
in the top left hand corner and touch all the photos you'd like to add to an
issue and then click "done"
STEP 5: If using 360 Field for
progress photos, be sure to close the issue so it does not appear on any
reports unless that's the desired result
Why
this is important:
This
is a quick way to document an area or process that will be retained for the
duration of the project.
Instead
of starting with the location of an issue, you can snap a photo and then
provide the rest of the information as required
Do’s:
Take
as many pictures as needed to demonstrate your issue clearly
Make
sure you tap on the screen if it’s not in focus to focus on the item you’d like
to take a picture of
Don’ts:
Don’t
forget to close the issue if it’s for documentation purposes
Don’t
upload unused photos, just delete them before synching