BIM 360 Field iPad: Using a Checklist
BIM 360 Field iPad: Using a Checklist
Steps:
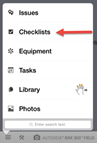
STEP 1: Open the checklist module from the main menu
in the bottom left hand corner of your iPad
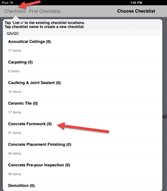
STEP 2: Open a pre-loaded checklist or search for a
checklist using the different options in the upper left hand corner of the
screen
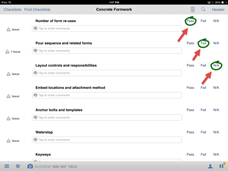
STEP 3: Fill out the checklist by selecting the
proper response to the checklist item
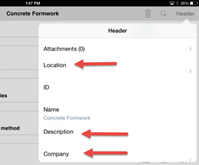
STEP 4: Open the "Header" in the top right
hand corner of the screen and fill in the proper information including the
signature if needed, location checklist was completed for and any additional
information that might be relevant
Why this is
important:
Checklists can help document many processes on the project and will
compile all of these automatically for all users to access
This will improve the ability of all of our team members to provide QC,
Safety and other tracking information simultaneously which is a people based QC
and Safety mentality improving coverage and ownership of such processes
Do's:
Being diligent in the information that is recorded in each checklist
including location, signatures and the status of the checklist will ensure it
is recorded properly
Contact your 360 Field Project Champion if there is a checklist that
does not exist or that requires modification for your site specific conditions
or needs
Adjust your SSQMP to incorporate the use of the 360 Field tool
Don'ts:
Don't use many different methods for tracking QC and Safety